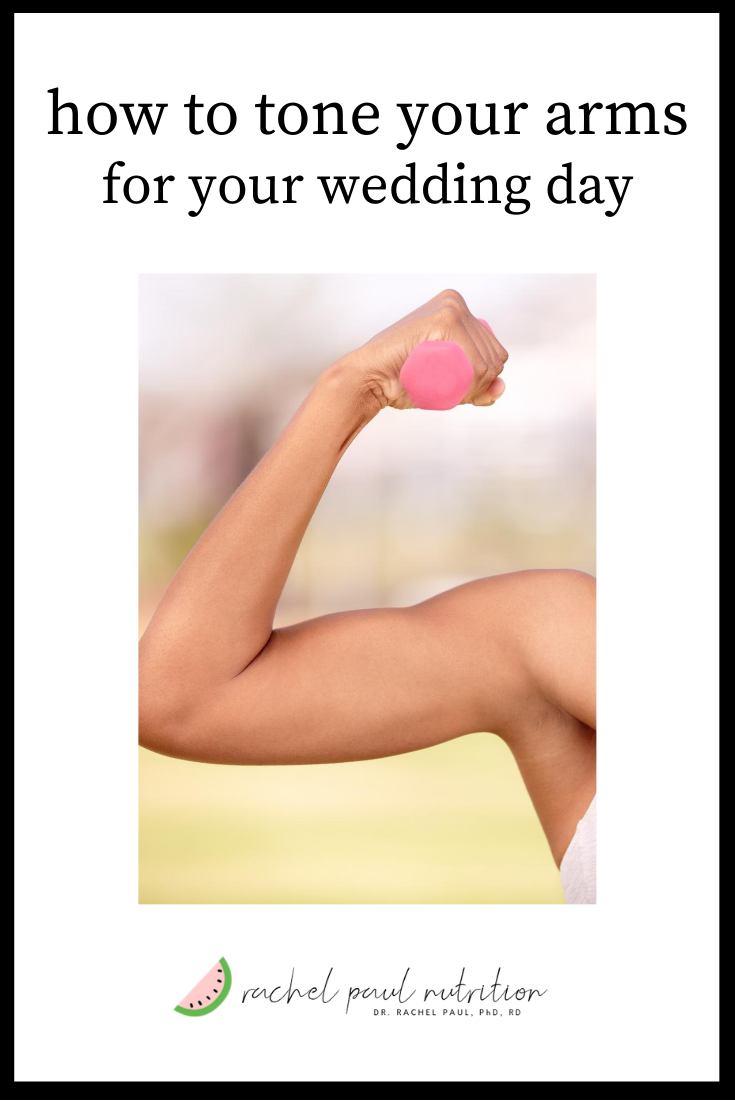
How To Tone Your Arms For Your Wedding Day
The venue has been booked, the dress is the perfect fit and the cake is delicious. As your wedding draws nearer you’ll be focusing on the finer details. One of the things many brides start to think about is how you will look on your big day. You want to look your best for those photos, so now is a great time to make the most of the motivation to get fit and healthy. Many wedding dresses are designed to expose the arms and shoulders so you may wish to ensure they are toned up. So, start exercising a few times per week (strength training is great for toning your arms), and you’ll be able to look and feel your best on your big day. You can work out yourself, or get a personal trainer.
How To Tone Your Arms For Your Wedding Day
Double Up
Rather than focusing on exercises that move a single joint, look for arm workouts that involve two joints. What does this mean? Rather than a bicep curl (moving just the elbow joint) try an upright row (moving both the elbow and shoulder joint). Mix in some single-joint exercises, like a tricep kick-back but do these after so you’ve got plenty of energy for the exercises that are going to give you the most bang for your buck. One exercise to nail several muscles? Yes please.
Go Big
Don’t be scared to pick up some heavier weights. Many women are scared of bulking up but that usually takes a lot of time for women as they don’t have the testosterone for this to happen quickly. You need to be challenging yourself to get toned arms. This will happen long before you bulk up so don’t worry that you’re going to wake up looking like a bodybuilder anytime soon.
Aim for the last two reps of each set to be hard. Once they aren’t, it’s time to pick up a heavier set of weights or increase the intensity of the exercise.
What Weight Should I Lift To Tone My Arms?
This can really depend on your body weight and capabilities. You can start lighter, with 1 to 5 pounds, and then gradually increase the weights once you get stronger. If you have a personal trainer, they’ll tell you which weights are the most suitable for your strength training.
Bent Over Row
With a pair of dumbbells in hand (or two water bottles), stand with your feet hip-width apart, knees slightly bent. Hinge forward (don’t bend your back) at the hips and extend your arms toward the floor with the palms facing each other. Squeeze your shoulders, bend your elbows and pull the weights towards your rib cage. Keep your back nice and flat, don’t arch to get a little more lift.
Just go as far as you can. Pause then lower your hands back to the starting position. Increase the range of motion and the weight as you get stronger and more mobility.
How To Tone Up The Back Of Your Arms
To tone the back of your arms, which are called triceps, you need to do exercises that target that area. Some good tricep exercises would be tricep dips (which I’ll explain below), tricep pushdowns, overhead tricep extensions, or close-grip push-ups.
Tricep Dips
Sit on the edge of a bench or chair with your knees bent to 90-degrees with your hands gripping the edge, either side of your hips about shoulder-width apart. Push yourself off the bench and lower your body two or three inches, bending the elbows but keeping the elbows close to your body. Imagine there are two walls, one outside of each of your arms keeping your arms flat against them.
Don’t let your elbows flare out to the side. Raise yourself back to the starting position. Do as many reps as you can, 30 seconds rest, then do another set. Remember, you want the last two of the set to be hard.
Shoulder Press
Standing or sitting, place a dumbbell in each hand. Bend the elbows so that your forearms are straight up from the elbow and the dumbbells are at ear level. You want your palms facing forward. Raise your arms, pushing the dumbbells to the sky. They can gently touch overhead. Return the arms to shoulder height, not letting the weights dip below your shoulders.
At the top of the exercise, make sure your core is engaged so that the trunk of your body is not swinging around. You want to keep your tail tucked under and don’t arch your back.
Side Plank
Laying on your side, put your forearm flat on the floor, and then stack your upper arm so the elbow is underneath your shoulder. Extend your legs out with your feet staggered (easier) or stacked one edge on top of the other (harder). Engage your core and lift your hips off the floor into a plank position to form a straight line from your feet to the top of your head. This is a core and upper body exercise, but you’ll quickly feel it in your shoulder. Hold for 30 seconds and then switch sides.
Build up the length of time you hold and change your foot position as you build up strength. Eventually, you may be able to lift your top foot off the floor so you’re in more of a star position. The great thing about planks is that there’s always another level to increase the intensity.


